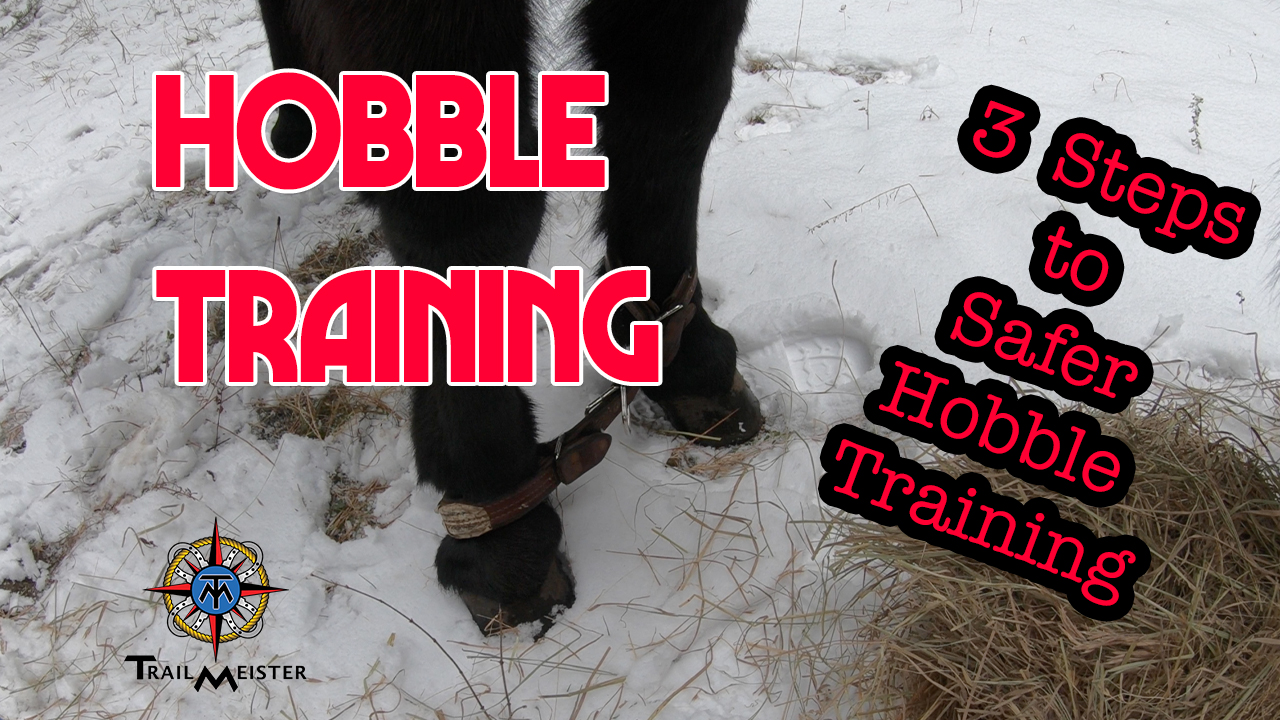
Hobble Training
 Hobbles have an important part to play in our equestrian life. From teaching patience, to back country grazing, the sooner you can get your horse, or mule, used to these back country bracelets the better off they’ll be.
Hobbles date back to the ancient Egyptians, who described them in hieroglyphics, and used them to restrain cattle. As a form of physical restraint, hobbles remain valuable thousands of years later.
For more practical information for trail riders and horse campers get a copy of The ABCs of Trail Riding and Horse Camping: Essential Knowledge for Trail and Camp – From Advocacy to Xenophon, this best-selling book will help guide your equine journey onto the trails and into the horse camp of your dreams. With sections devoted to what to look for in a trail horse, training the horse once you’ve got him, trailering tips to get him to the trailhead safely, and even the outdoor skills you’ll need to know to make your equine adventures safer. https://amzn.to/3baOaRK
The primary reason I hobble train all of my animals is to teach them to give to pressure. Hobble training is a tool to help my horses and mules learn to be quiet in uncomfortable situations, such as would occur if a leg were to get caught in wire. An animal that can stand steady and accept pressure without struggle or panic is well worth its place in any string.
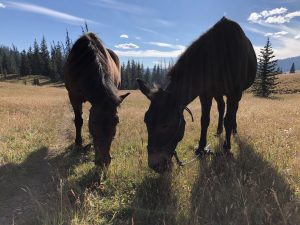
I use hobbles mainly in back country camping situations. They allow me to graze my animals in a semi-controlled manner. Being able to let the mules rummage for their own meals allows me to pack less, go further, and stay longer in wilderness areas.
Types of Hobbles
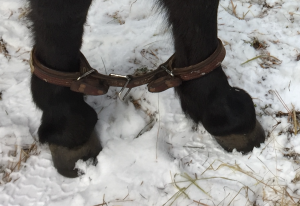 While there are various types of hobbles, the type most used by trail riders and back country explorers tend to be of the two-leg style that loosely connect the front pasterns together. This type of hobble can be found constructed from many different materials including chain, nylon, and leather. I have a strong preference for the buckle-less version featuring a tab arrangement that opens and closes much quicker than the more common, and clumsy, buckle variants. These tab hobbles help keep me safer by minimizing the time spent around hard and unforgiving hooves.
Hobble Training
All of my animals are introduced to hobbles whether or not they’re destined for the back country. Effective hobble training helps them become better at having things wrapped around their legs without panic. Being steady, calm, and collected, during trying times is a tool that every horse needs to have in their saddle bags.
The objective is to help my animals tolerate things wrapped around their legs and give to pressure. Our hobble training starts without hobbles. I’ll spend as long as it takes, generally at least a week or two, preparing and making sure that they’re comfortable before I move on to the next step of the process.
Step 1 – Desensitize the Legs
You should be able to touch and manipulate all four legs easily and without resistance. Spend the time to desensitize the horse with ropes, flags, anything you can think of to make the horse confident when encountering new objects. I’ve found that the more time I spend conditioning and desensitizing the horse gives me valuable clues into how the horse might react, either negatively or positively, when under pressure.
Step 2 – Give to Pressure
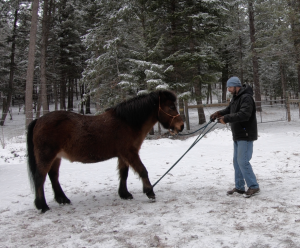 I want the horse to give to pressure on his legs rather than struggle. To teach the horse to give, I put a soft rope first on one leg and then another, teaching the horse to cooperate when pressure is applied by lifting his hoof. Once the horse lifts the hoof, relax the pressure. Repeat. The leg is not tied. If the horse gets scared, I can let go of one end of the rope and immediately release him.
I make a game of this step by leading the animal by a foot. Any foot. With a little patience, and practice, you’ll be able to lead by attaching the rope to any foot. Once I can do that it’s time to introduce the hobbles.
Step 3 – The Hobbles
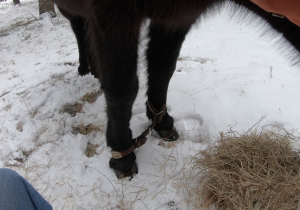 For our initial introduction to hobbles I’ll find an area with safe footing, arm myself with a flake of prime hay. And wait until dinner time. Once the horse is concentrating on eating I’ll put the hobbles around the their pasterns. Then give them a few tugs so they know they’re on and wait. I’ve found that most animals are more interested in filling their stomachs than worrying about hobbles. I see several benefits to this method. One – it helps associate hobbles with pleasant things. Two – with food in the mix the animal will slowly explore the hobbles and reduce the chances of falling.
To my mind this 3 step process is safer, and less dramatic, for my animals and myself. Certainly it’s better than slapping on hobbles and yelling “whoa” during the subsequent commotion.
I believe that hobble training is a fundamental step in every horse’s education. Whether or not you venture into the back country teaching your animal to give to pressure could save his life. A horse that has been taught to give to pressure can wait for help or think his way out of a situation without panicking.
Take your time with hobble training and you’ll be rewarded with a safer horse. And many wonderful experiences on the trail and off.
For more practical information on trail riding and camping with horses visit www.TrailMeister.com. We’re also the largest guide to horse trails and camps in the world.
LINKS:
Tab Hobbles – http://www.outfitterspackstation.com/buhowoch.html