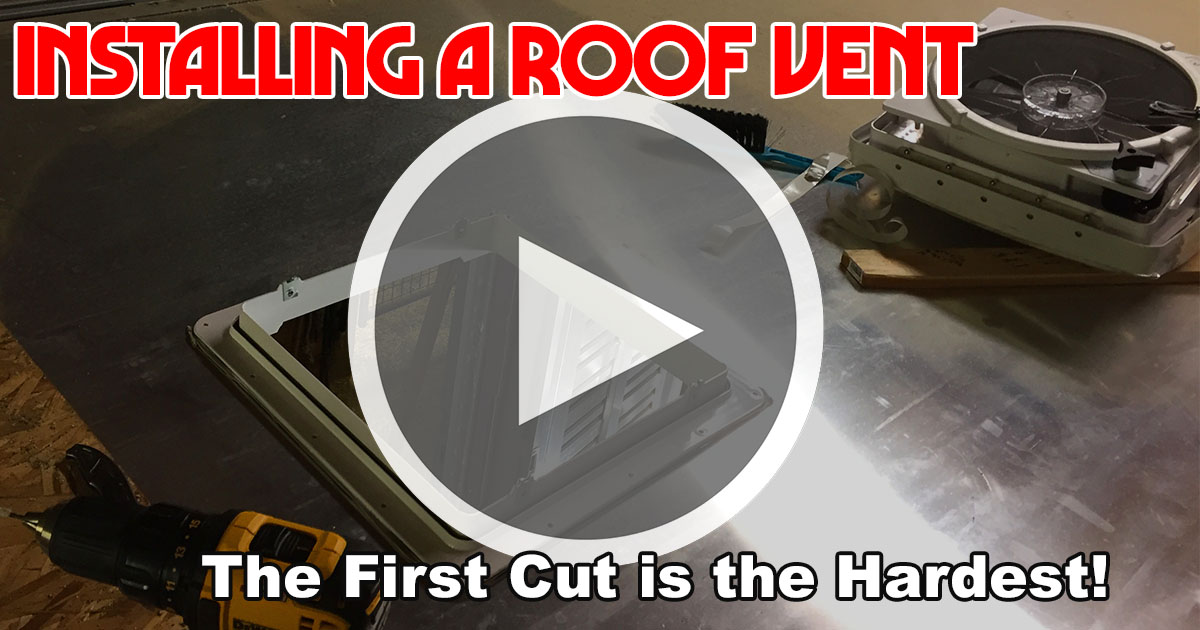
Installing a Powered Roof Vent – The first cut is the hardest!
One of the least sexy but most important additions to our horse trailer LQ build was the powered roof vent. It might not seem important at first, but without the fan, the “Taj MaSmall” would quickly become unbearable to live in. It keeps the air fresh, increases airflow, evacuates cooking odors and helps to control moisture. All very important items for a comfy abode away from home.
Installing the roof vent was also one of the scariest of all of the conversion tasks. Cutting a giant hole in a brand new trailer is, and should be, a little intimidating. Fortunately, it’s well within reach of any enthusiastic DIYer!
Let’s begin!
DISCLOSURE:
This post contains affiliate links, which means that if you click a product link and buy anything from the merchant, we will receive a small commission fee. This does not cost you anything. The price you pay remains the same, affiliate link or not.
Buying through these product links is the best way to say thanks if TrailMeister is of any help for you on the trail or in camp! Thank you for supporting TrailMeister and for keeping this website alive!
As I mentioned earlier, the idea of cutting a big hole in your roof is a bit intimidating, but once you get started the install is actually pretty easy.
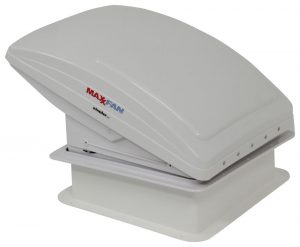
MaxxFan 7000k
What we installed: Maxxfan Deluxe 7000k
The Maxxfan Deluxe has a built in rain cover, a feature that is vital when you’re living in a small space, such as a trailer. Being able to keep the fan running when it’s raining is a key feature. The fan’s low power consumption allows us not to worry about the state of our batteries and indeed we let the fan run continuously throughout the night with no worries and plenty of juice for the next day.
TIME ON THE JOB: 3 hours – TOTAL COST : $350
The tools we used:
Maxxfan Deluxe 7000k with remote – (Info from Amazon)
Cordless drill – (Info from Amazon)
Caulk Gun – (Info from Amazon)
Screwdriver – (Info from Amazon)
Safety Glasses – (Info from Amazon)
Materials Used:
Butyl tape – (Info from Amazon)
Dicor Lap Sealant – (Info from Amazon)
Painters Tape – (Info from Amazon)
Isopropyl Alcohol – (Info from Amazon)