 The Highline – A Recipe for Success
As Published in We Ride Sport and Trail Magazine, March 2017
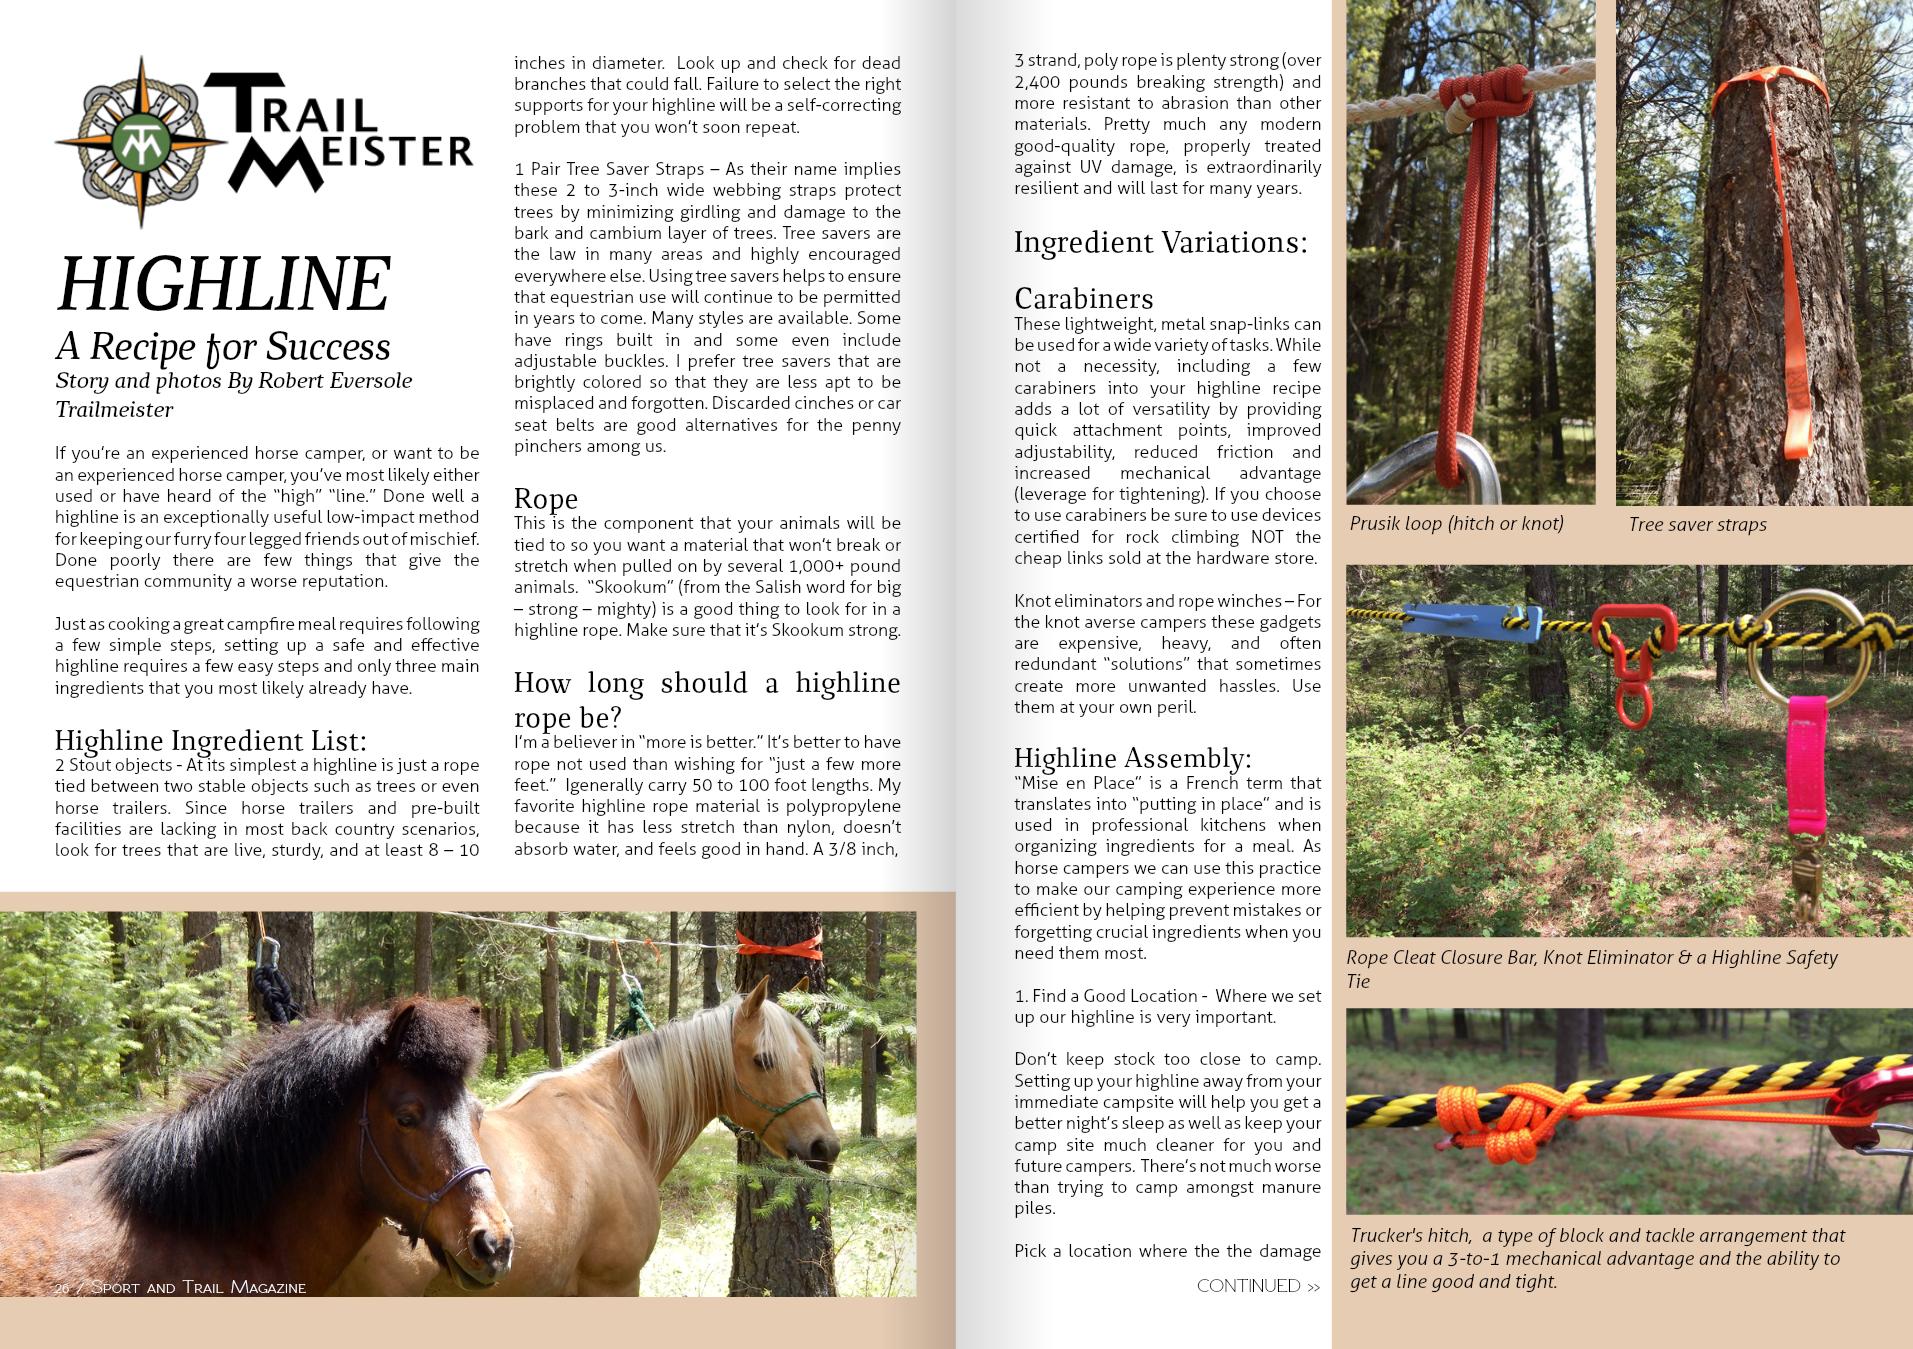
If you’re an experienced horse camper, or want to be an experienced horse camper, you’ve most likely either used or have heard of the “high” “line.” Done well a highline is an exceptionally useful low-impact method for keeping our furry four legged friends out of mischief. Done poorly there are few things that give the equestrian community a worse reputation.
Just as cooking a great campfire meal requires following a few simple steps, setting up a safe and effective highline requires a few easy steps and only three main ingredients that you most likely already have.
Highline Ingredient List:
 2 Stout objects – At its simplest a highline is just a rope tied between two stable objects such as trees or even horse trailers. Since horse trailers and pre-built facilities are lacking in most back country scenarios, look for trees that are live, sturdy, and at least 8 – 10 inches in diameter. Look up and check for dead branches that could fall. Failure to select the right supports for your highline will be a self-correcting problem that you won’t soon repeat.
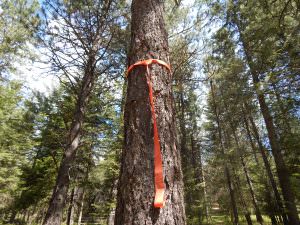
- 1 Pair Tree Saver Straps – As their name implies these 2 to 3-inch wide webbing straps protect trees by minimizing girdling and damage to the bark and cambium layer of trees. Tree savers are the law in many areas and highly encouraged everywhere else. Using tree savers helps to ensure that equestrian use will continue to be permitted in years to come. Many styles are available. Some have rings built in and some even include adjustable buckles. I prefer tree savers that are brightly colored so that they are less apt to be misplaced and forgotten. Discarded cinches or car seat belts are good alternatives for the penny pinchers among us.
 Rope – This is the component that your animals will be tied to so you want a material that won’t break or stretch when pulled on by several 1,000+ pound animals. “Skookum” (from the Salish word for big – strong – mighty) is a good thing to look for in a highline rope. Make sure that it’s Skookum strong.
How long should a highline rope be? I’m a believer in “more is better.” It’s better to have rope not used than wishing for “just a few more feet.” I generally carry 50 to 100 foot lengths. My favorite highline rope material is polypropylene because it has less stretch than nylon, doesn’t absorb water, and feels good in hand. A 3/8 inch, 3 strand, poly rope is plenty strong (over 2,400 pounds breaking strength) and more resistant to abrasion than other materials. Pretty much any modern good-quality rope, properly treated against UV damage, is extraordinarily resilient and will last for many years.
Ingredient Variations:
- Carabiners – These lightweight, metal snap-links can be used for a wide variety of tasks. While not a necessity, including a few carabiners into your highline recipe adds a lot of versatility by providing quick attachment points, improved adjustability, reduced friction and increased mechanical advantage (leverage for tightening). If you choose to use carabiners be sure to use devices certified for rock climbing NOT the cheap links sold at the hardware store.
- Knot eliminators and rope winches – For the knot averse campers these gadgets are expensive, heavy, and often redundant “solutions” that sometimes create more unwanted hassles. Use them at your own peril.
Highline Assembly:
“Mise en Place” is a French term that translates into “putting in place” and is used in professional kitchens when organizing ingredients for a meal. As horse campers we can use this practice to make our camping experience more efficient by helping prevent mistakes or forgetting crucial ingredients when you need them most.
- Find a Good Location – Where we set up our highline is very important.
- Don’t keep stock too close to camp. Setting up your highline away from your immediate campsite will help you get a better night’s sleep as well as keep your camp site much cleaner for you and future campers. There’s not much worse than trying to camp amongst manure piles.
- Pick a location where the the damage from trampling hooves will be minimized such as on hard packed dirt or rocky soils.
- Your highline should be at least 100 feet away from water sources such as streams or lakes (some areas require a longer distance).
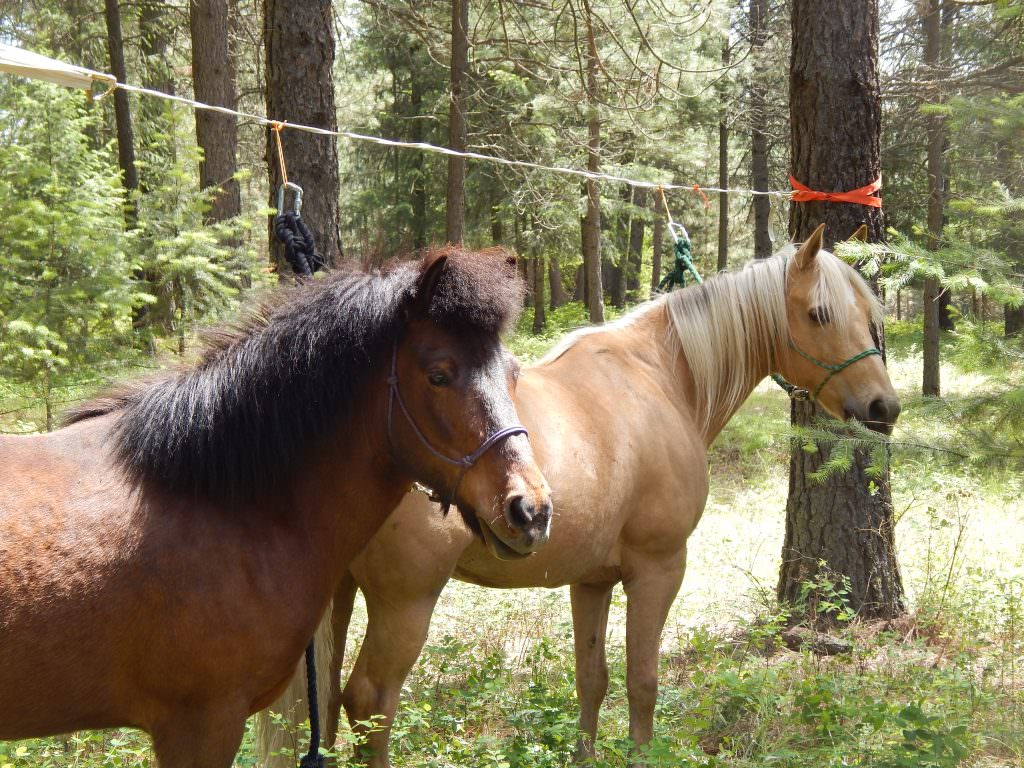
- Place the Tree Savers – Wrap your tree saver straps around the two trees you’ve selected. Place the tree savers as high as possible so the highline is above the horse’s head.
- Lay Out the Highline Rope – Loosely stretch your rope between the tree savers and tie one end to the first tree with a bowline knot.
- Use a quick release bowline
- Tie an inline loop in the rope about 5 feet from the second tree
- The Alpine Loop is secure and very easy to untie when breaking camp.
- Run the remaining rope through the second tree saver and back through the inline-loop you made in step #4.
- With this arrangement you’ve just created what is known as a “Truckers Hitch” a type of block and tackle arrangement that gives you a 3-to-1 mechanical advantage and the ability to get a line good and tight.
- Pull tight and secure with a couple of half-hitches. Tuck any left-over rope behind the tree where a curious horse cannot get to it.
- Decide where to place ties for your horses lead lines and attach a prusik loop at each point.
- Make sure to place tie points so that the horses cannot chew or rub on the trees or get into mischief with one another.
- Tie horses lead ropes into the prusik loops with a quick release knot.
Now that we’ve demystified the secret recipe for a highline you’re ready for years of safe and enjoyable horse camping! As always for the straight scoop on places to ride and camp visit www.trailmeister.com, the largest source of accurate horse trails and camps in the world.
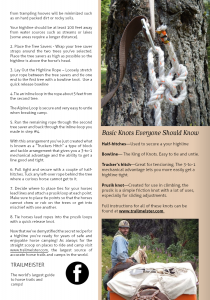 Basic Knots Everyone Should Know
Half-hitches—Used to secure a your highline.
Bowline— The King of Knots. Easy to tie and untie.
Full instructions for all of these knots can be found at www.trailmeister.com